We’ve gone from demolition to design!

The crew from Urban Escapes spent the last half of last week shaping the the pond walls and floors. There’s a lot to do here because the original pond was only six feet deep at its deepest point. If we can, we’re going for a full eight feet in middle. This required a lot of dirt and rock removal. As you can see from the pictures, we quickly got into river rock once we got below five feet into the ground. This significantly slowed down progress and will end up costing us a little extra.

Rather than try to dig trenches through all the rock and sand, we decided to use the trackhoe and dig the floor even deeper. This will allow us to lay out and glue up the plumbing on top of the ground, then back fill the floor with good soil we will purchase. Backfilling will allow us to put good structural soil around the pipes and not have to worry about rocks creating pressure points on the pipes. Replacing rocky soil with clean soil is actually a good idea for any project using PVC pipe. The pipe can become brittle and break easily with rocks pressing up against it.

We had a number of setbacks last week, so I did a little work on the pond over the weekend to prepare for tomorrow morning. I grabbed a shovel and rock bar and dug out the main plumbing trench a little more. I also started digging down on the east side of the pond where the trackhoe couldn’t reach. I’m really hoping we’ll be able to get started on plumbing tomorrow!

The pond is now a blank slate (a.k.a. a hole)

The crew from Urban Escapes has made good progress in the last two days. The concrete structure holding up the waterfall rock was stubborn, but with the help of a jackhammer mounted on their Dingo, they were able to remove most of it on Monday.

When the crew came back  on Tuesday, there were only a few chunks of waterfall support left. They finished cleaning those out and removed all the old concrete and gravel from the bog. By the end of they day they were shaping the lily shelf and the area where the vault will sit.

There’s a backhoe in our yard.

After a year of planning, the remodel has begun. The crew from Urban Escapes pulled up Thursday morning.  After a a quick planning session, they pulled out the the sledge hammers and jack hammers and went to work. Before I dive into the the details I just want to say I’ve really enjoyed working with Terri leading up the this project, and these last two days her crew has been just as great!

They began by breaking down the side walls of the upper pond so they could get the backhoe into our lot. On Thursday they focused on the rocks and walls around the back of the pond. They carefully piled the natural sandstone rocks out of the way, and quickly broke up and hauled away the concrete.


3 feet of concrete!!!

Unfortunately I had to go to work today and I missed all the surprises! They made great progress today and the pond looks a lot more like a hole in ground (and a blank canvas). There were a couple surprises today. The first was that the bog garden in the upper pond was only three feet deep. The previous home owner mentioned it was four feet deep and that is what I have been telling everyone. The second surprise was just how much concrete was under the waterfall. What I assumed would be maybe a cinder block or two thick is almost three feet of solid concrete! The crew made a valiant effort to break it out with jackhammers, smaller demo hammers, and the backhoe, but they had to change tactics.  They reserved a chain saw capable of cutting concrete from a local rental shop and called it a day around 4 p.m.

How to take care of a lot of fish from a leaky pond.

The biggest problem we had when rebuilding the pond is what to do with our fish. We had five adult koi from 18” to 24” long and six juveniles of varying size. We were exploring different options, including stock tanks and show tanks, but that got expensive quick. It would also have been challenging to set up filtration on the number of tanks we’d need.

In early 2017, when we were approaching the planned start date, I brought up our problem with the first pond builder. He suggested buying an above ground swimming pool- one without an algaecide added during manufacturing. This was a great idea and probably saved our fish. The brand the builder recommended was Intex because they did not use algaecide in their pool material. After some internet searching I was able to find a previous year’s model pool for $299 on Amazon. After calling Intex to make sure the pool was algaecide free, I placed an order and it was on our doorstep 3 days later.

The pool we picked was 15 feet in diameter and 4 feet tall. Based on a water level of around 3 feet 8 inches and pool diameter of 15 feet, the total volume of water for this pool is around 5000 gallons. This is plenty of water for the number of fish we have, and I quickly realized I could use the Ultima II 20000 filter on the pool if I had a pump. On a club member’s recommendation, I sized and bought a Performance Pro Artesian 2 5800GPH pump, which I immediately put to use on the Ultima II filter. We plan to use this pump on the new pond.

In April 2017, I began the pool setup. To even out the ground, I layered sand over the gravel underneath the pool in our backyard (we plan to regrade and replace the driveway). I assembled the pool and plumbed in the pump and filter. I ran the 3” pump intake across the bottom of the pool and put a tee on the end with two drain grates on either side. The intake plumbing runs up over the edge and down to the pump, through the filter, and back into the pond. Outflow from the pump is enough oxygenation. We used ammonia salt to kick start the filter. I added a layer of rigid foam insulation around the pool and filter and built a box for the pump. Then, with the help of club members, we transferred the fish from the pond to the pool in May 2017, anticipating the beginning of the construction project.

The temporary pump house. This was build using 2x2s and cheapest 1/2 plywood I could find.

The pump and plumbing form the pool into the filter. The electrical wire in the top fo thge pump house is a pipe heating wire to ensure nothing froze up over the winter.

This is the Ultima 2 filter with 2 layers of thermal barrier wrapped around it. The opening around the pressure gauge was added this spring.

Nearly a year later the fish are still in the pool. We have had to make some modifications over the course of the summer and this winter, but the fish have made it through mostly unscathed. Keeping fish in an above ground pool has been somewhat challenging, mostly due to wide temperature fluctuations over the seasons and even over the course of a day. That being said, I am not sure we would have any fish left if we have bought a bunch of smaller tanks and tried to keep them in tanks for a year. We are really looking forward to having the new pond finished.

Begining to plan the new pond

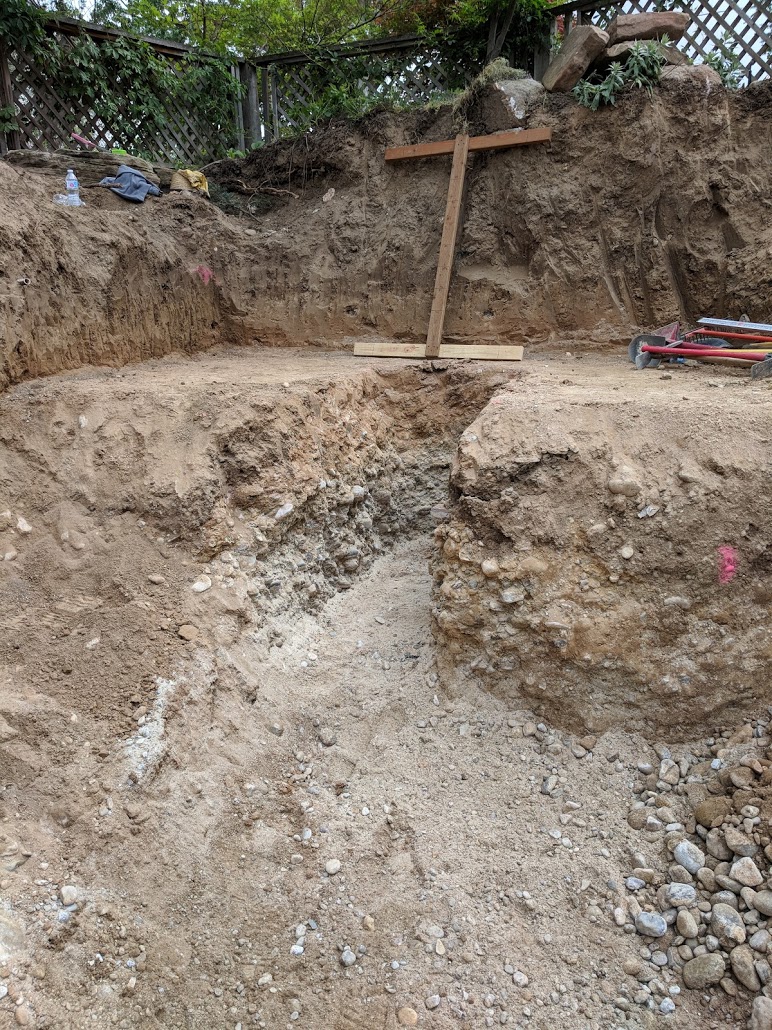
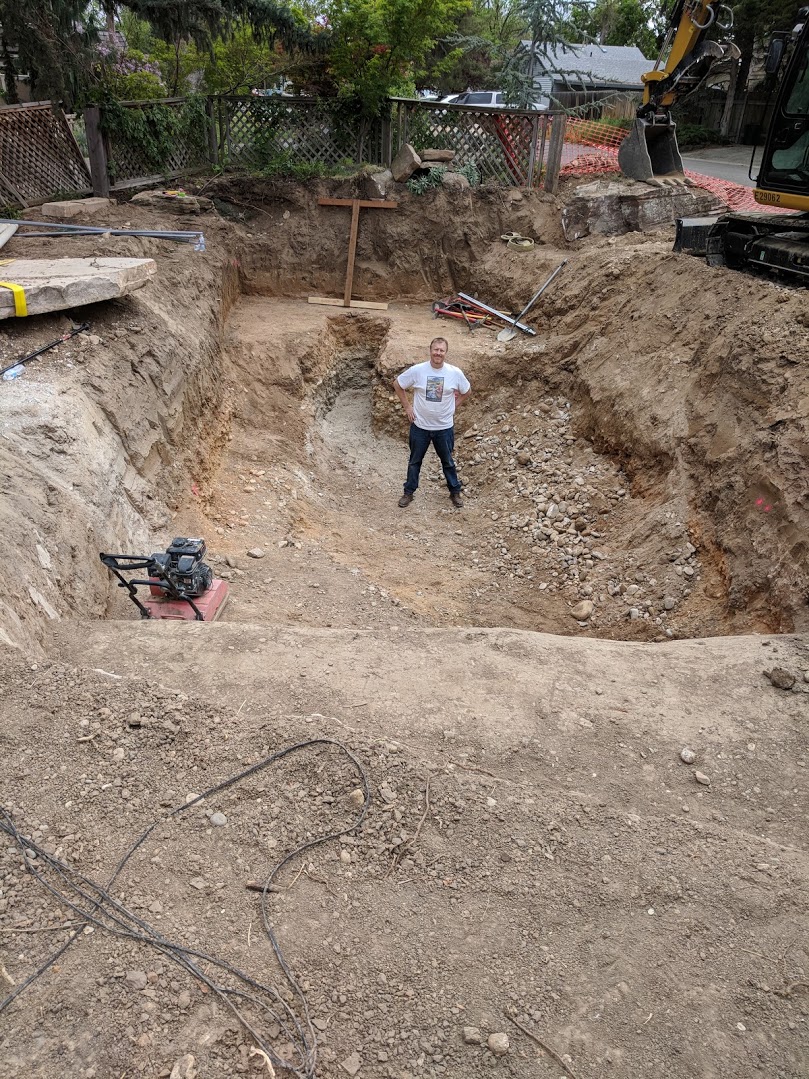
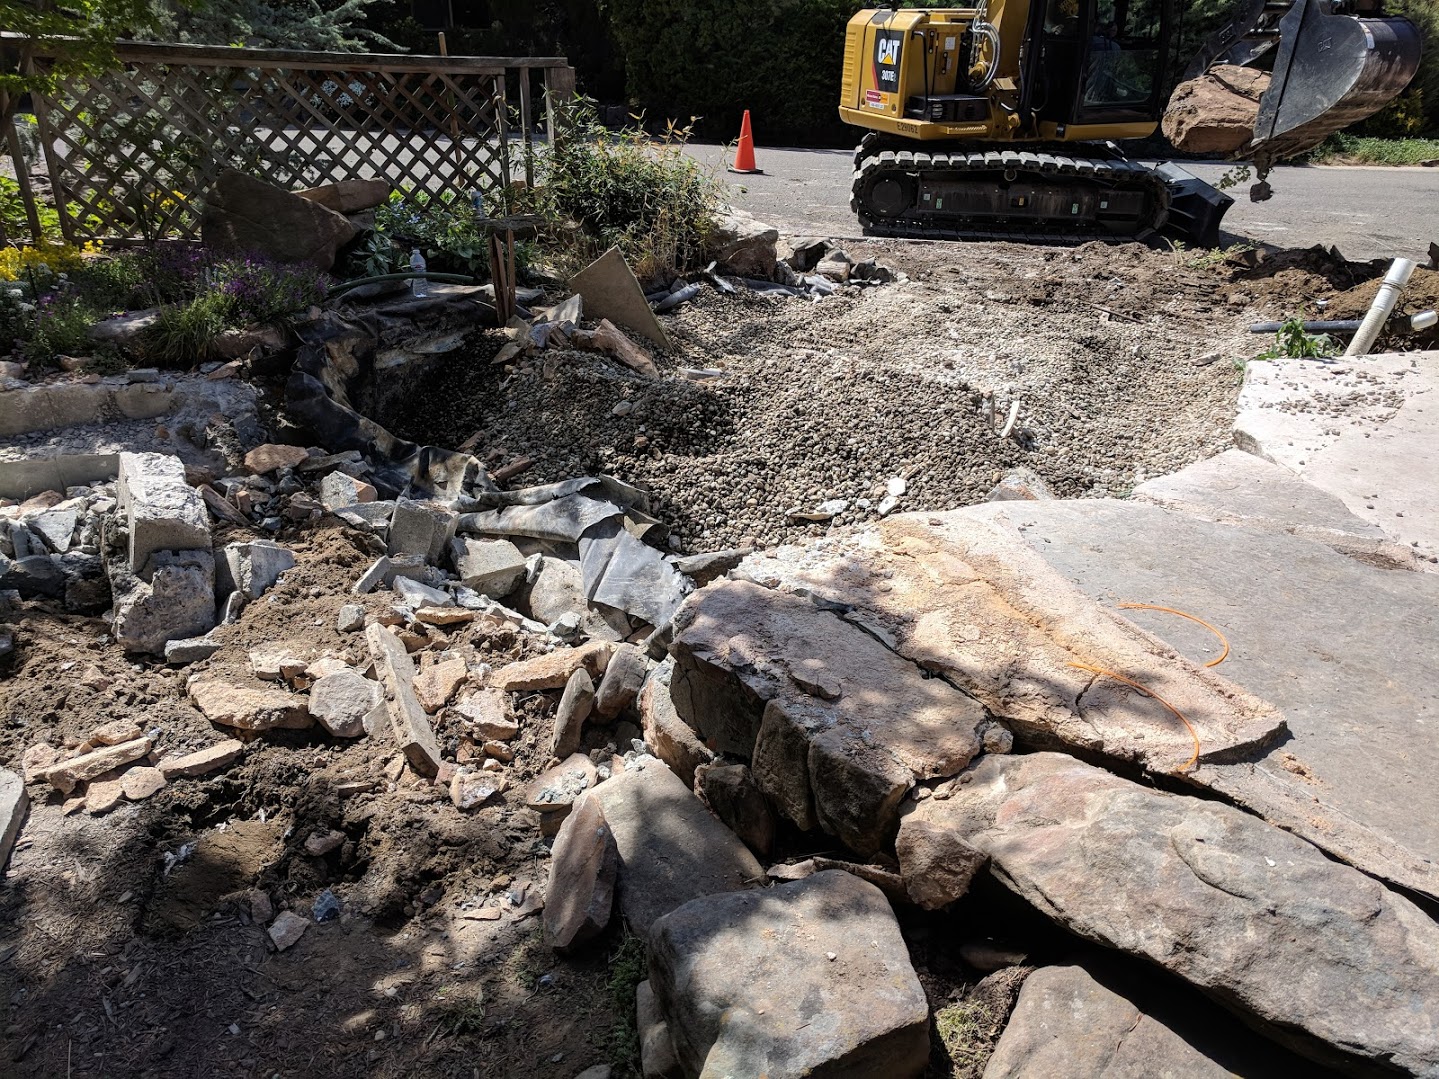
So you know you have a leaky pond… what now? We were very fortunate that the leak started slowly. The slow leak development has given us time to plan as well as breathing room to make sure we’re making the right decisions. When we realized that we were looking at a major remodel, we starting to think about what we would do differently.

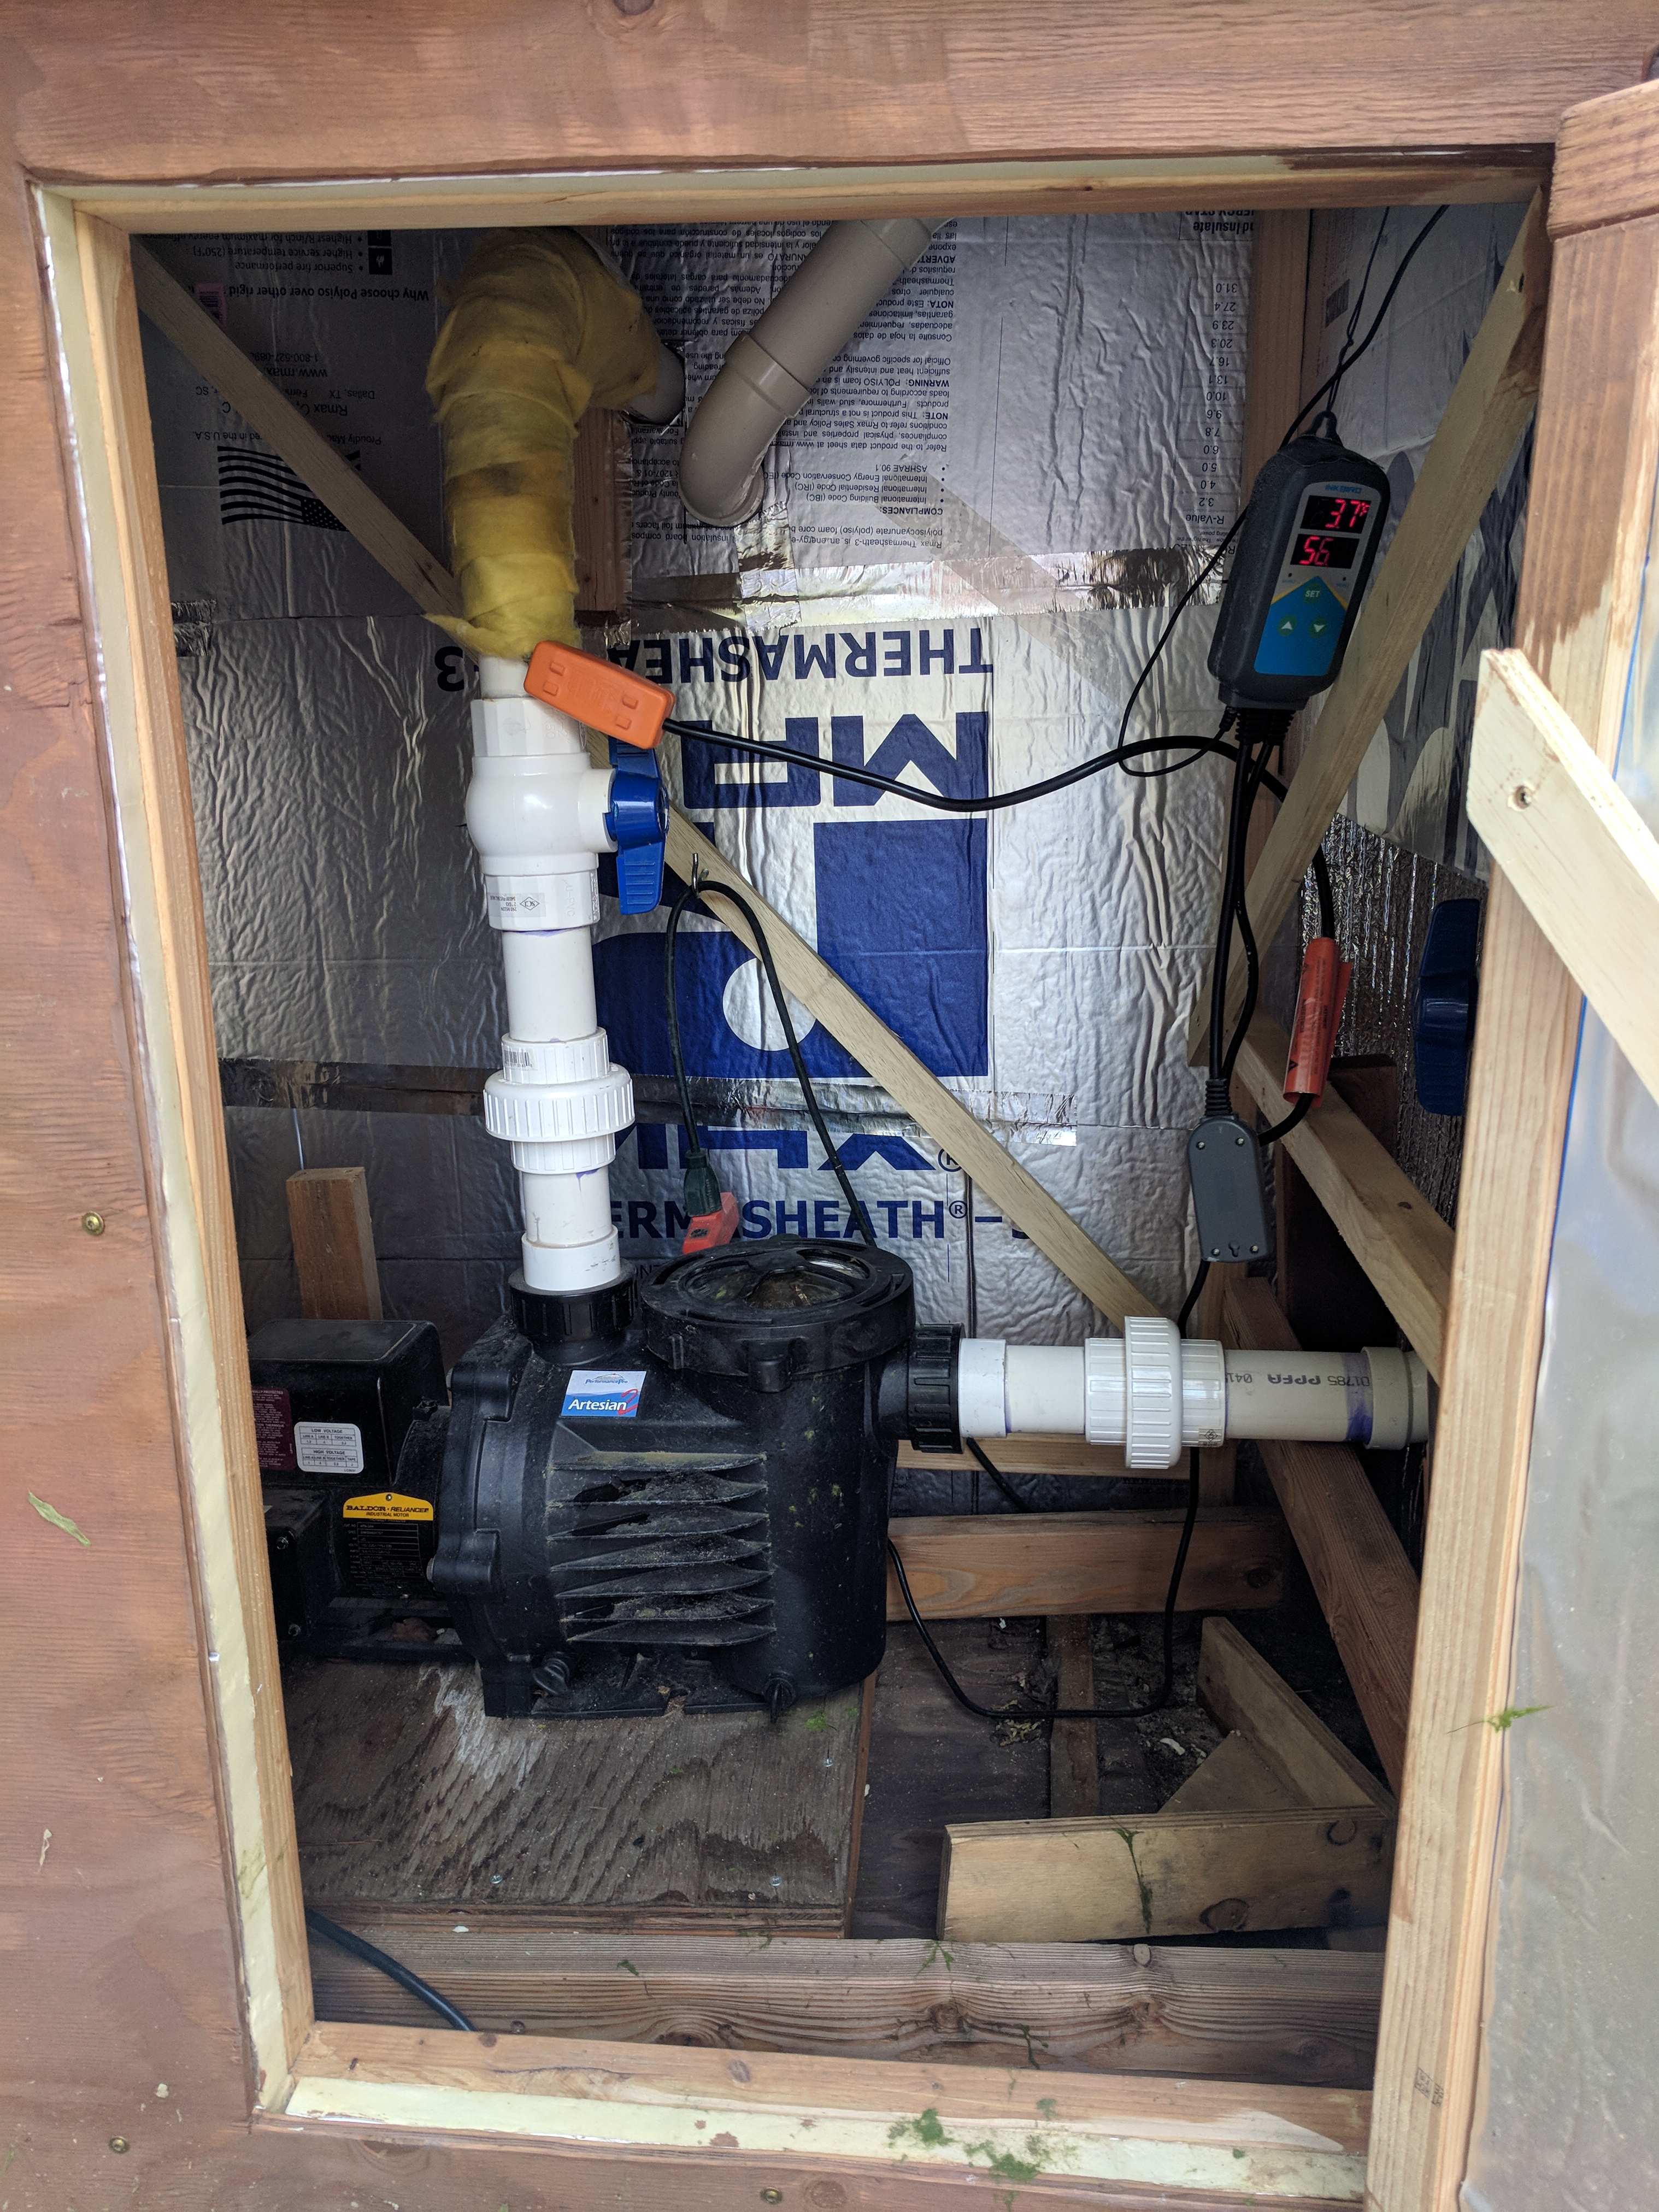
The giant bog filter worked well, but it was now 15 years old and suffered from channeling. We were able to clean it up a bit using MicrobeLift Sludge Remover, but the result was modest at best. Molly wanted a more traditional pond filtration system but I was thinking about rebuilding the bog, though in a more maintainable configuration. The year before, a former IWGKS member gave Molly and Sue Boydstun an opportunity to salvage some old equipment. This included an old Ultima II 20000 filter. Boy was I surprised to see that in the back of the truck when I got home from work that evening. The filter was the factor that pushed me over to my wife’s way of thinking, and the bog was out.

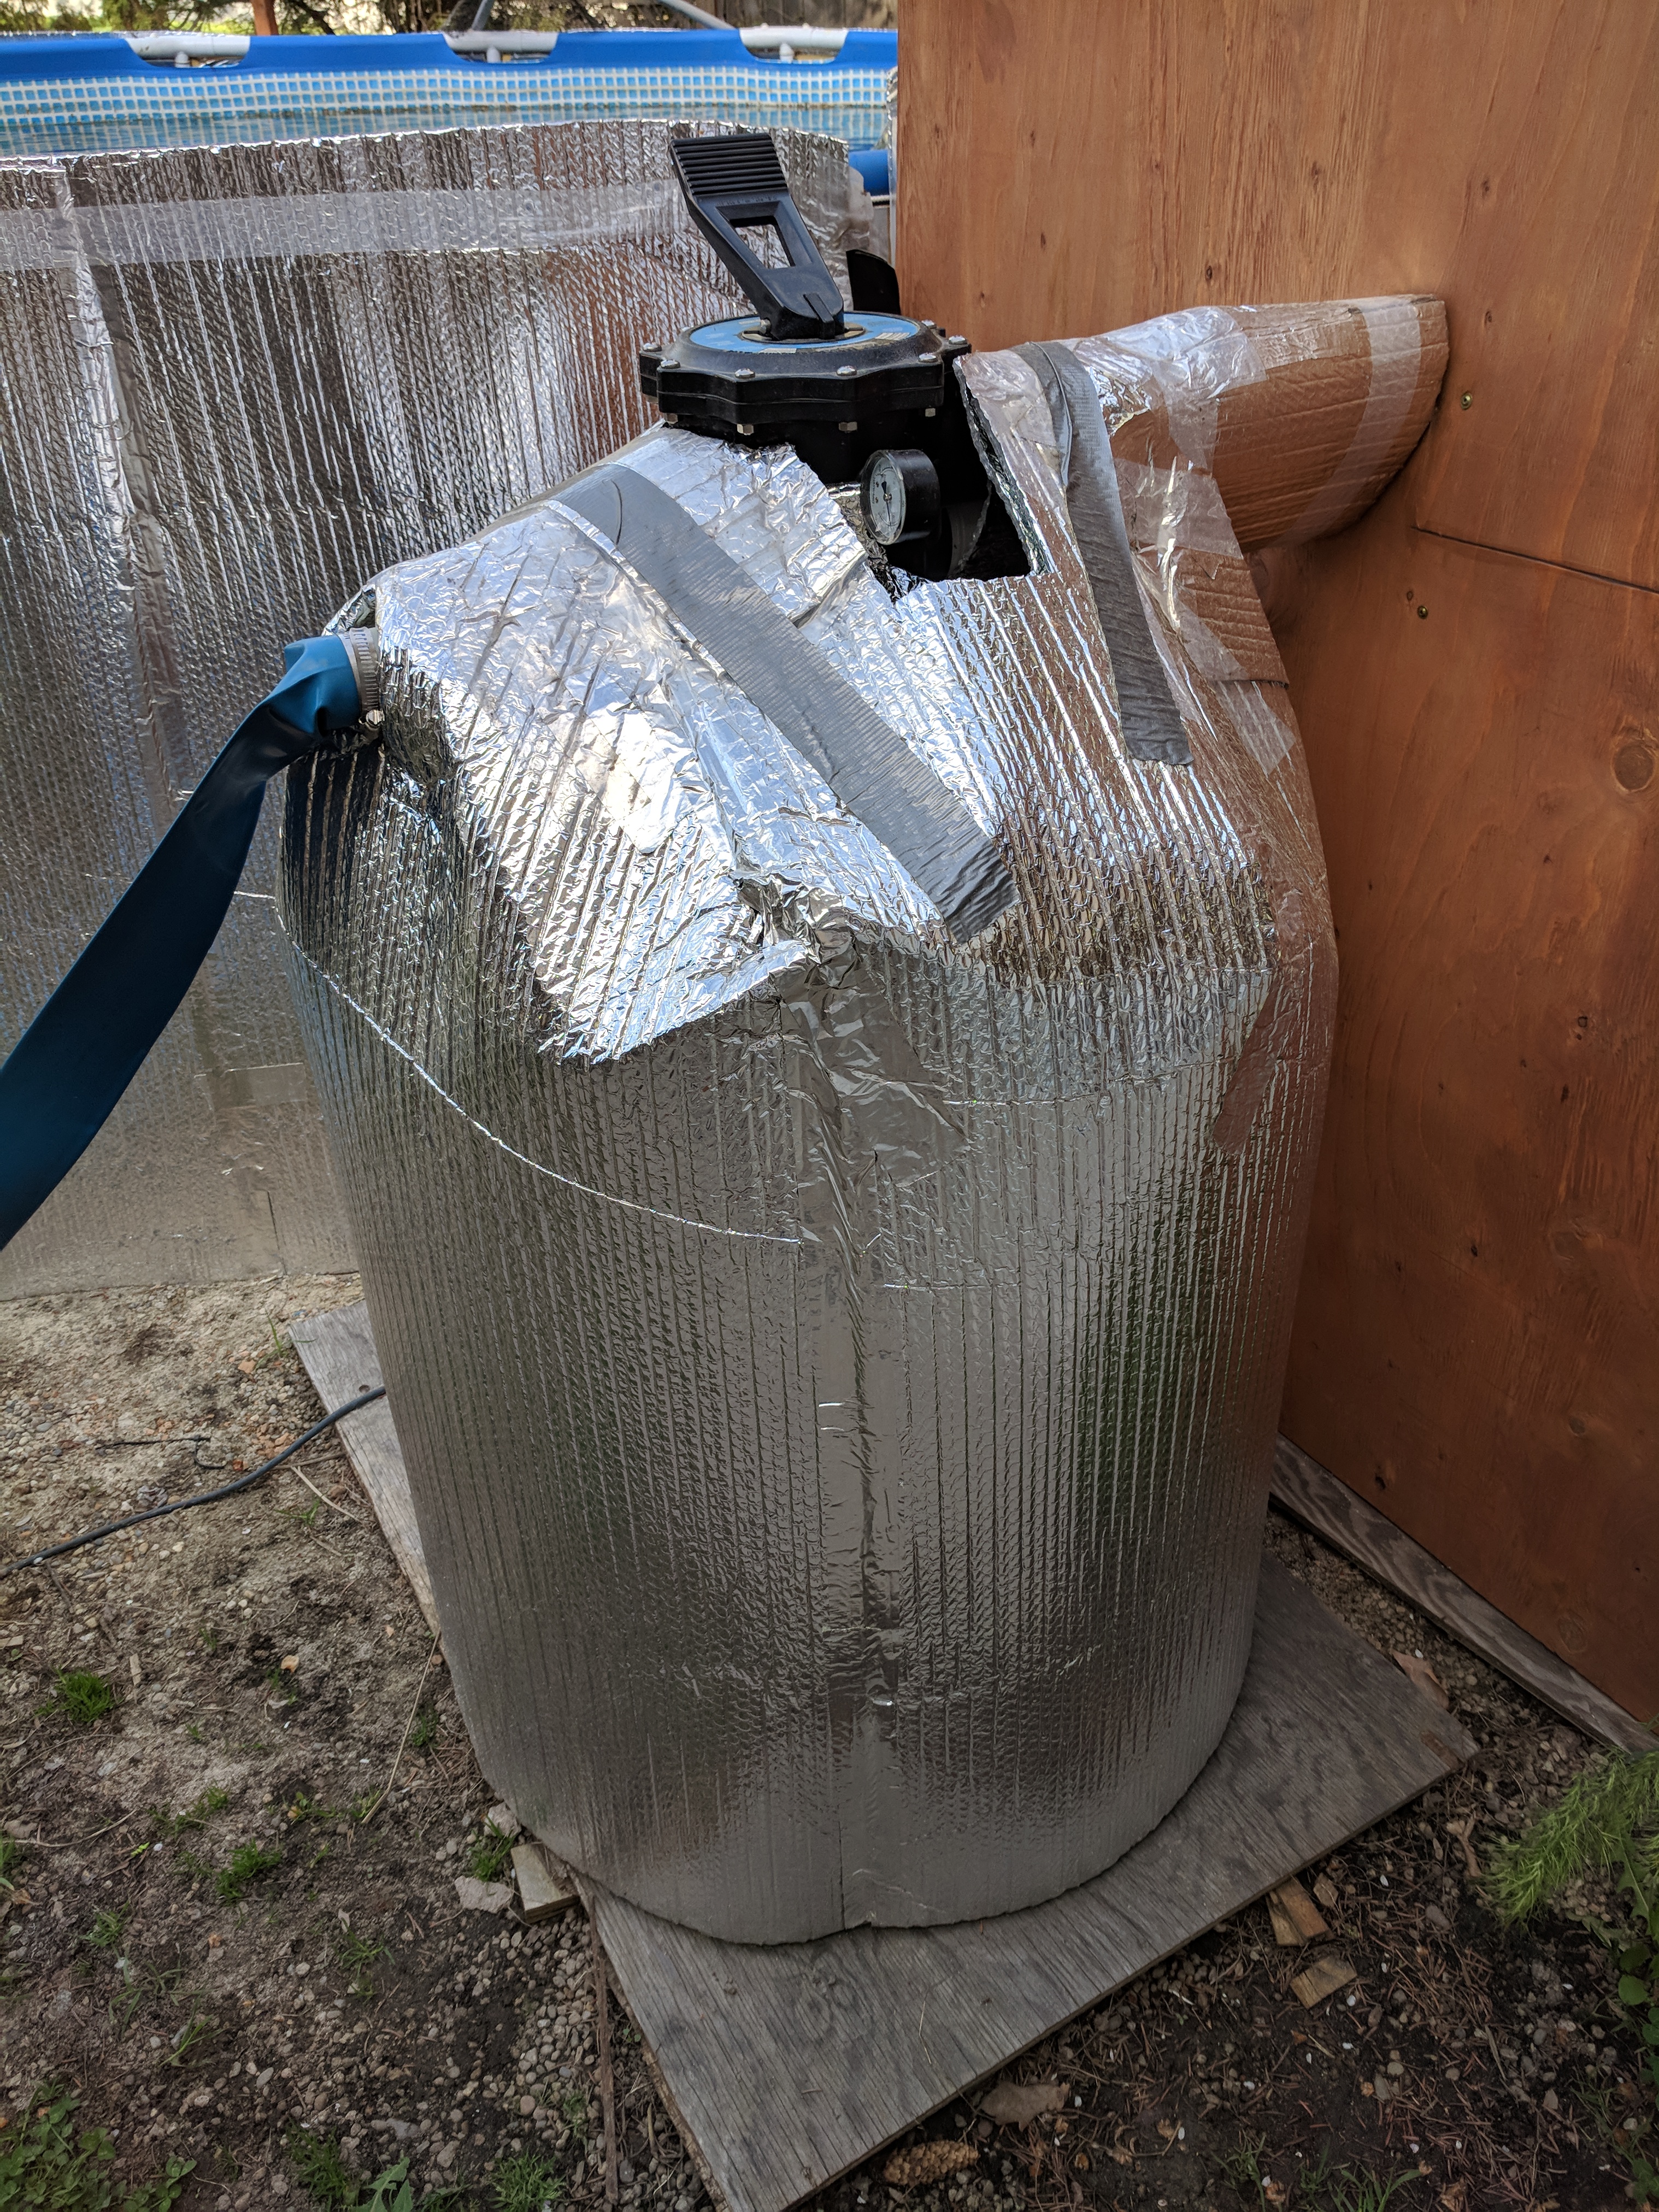
I refurbished the filter in spring 2017 by adding a new valve assembly (ordered from Aqua Ultraviolet), repairing the jets (by mending the molding seams), and cleaning out the old media. The filter became the cornerstone of our filtration system. Ultima IIs have some known drawbacks, like easily clogged media, but for us a $500 refurbish job beats a new $3000-$4000 filter. There are documented ways to improve the operation of the Ultima II: using compressed air for cleaning and ensuring adequate water flow through the filter.

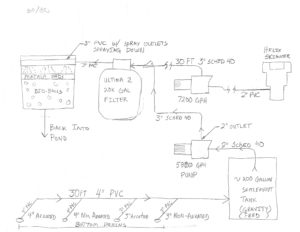
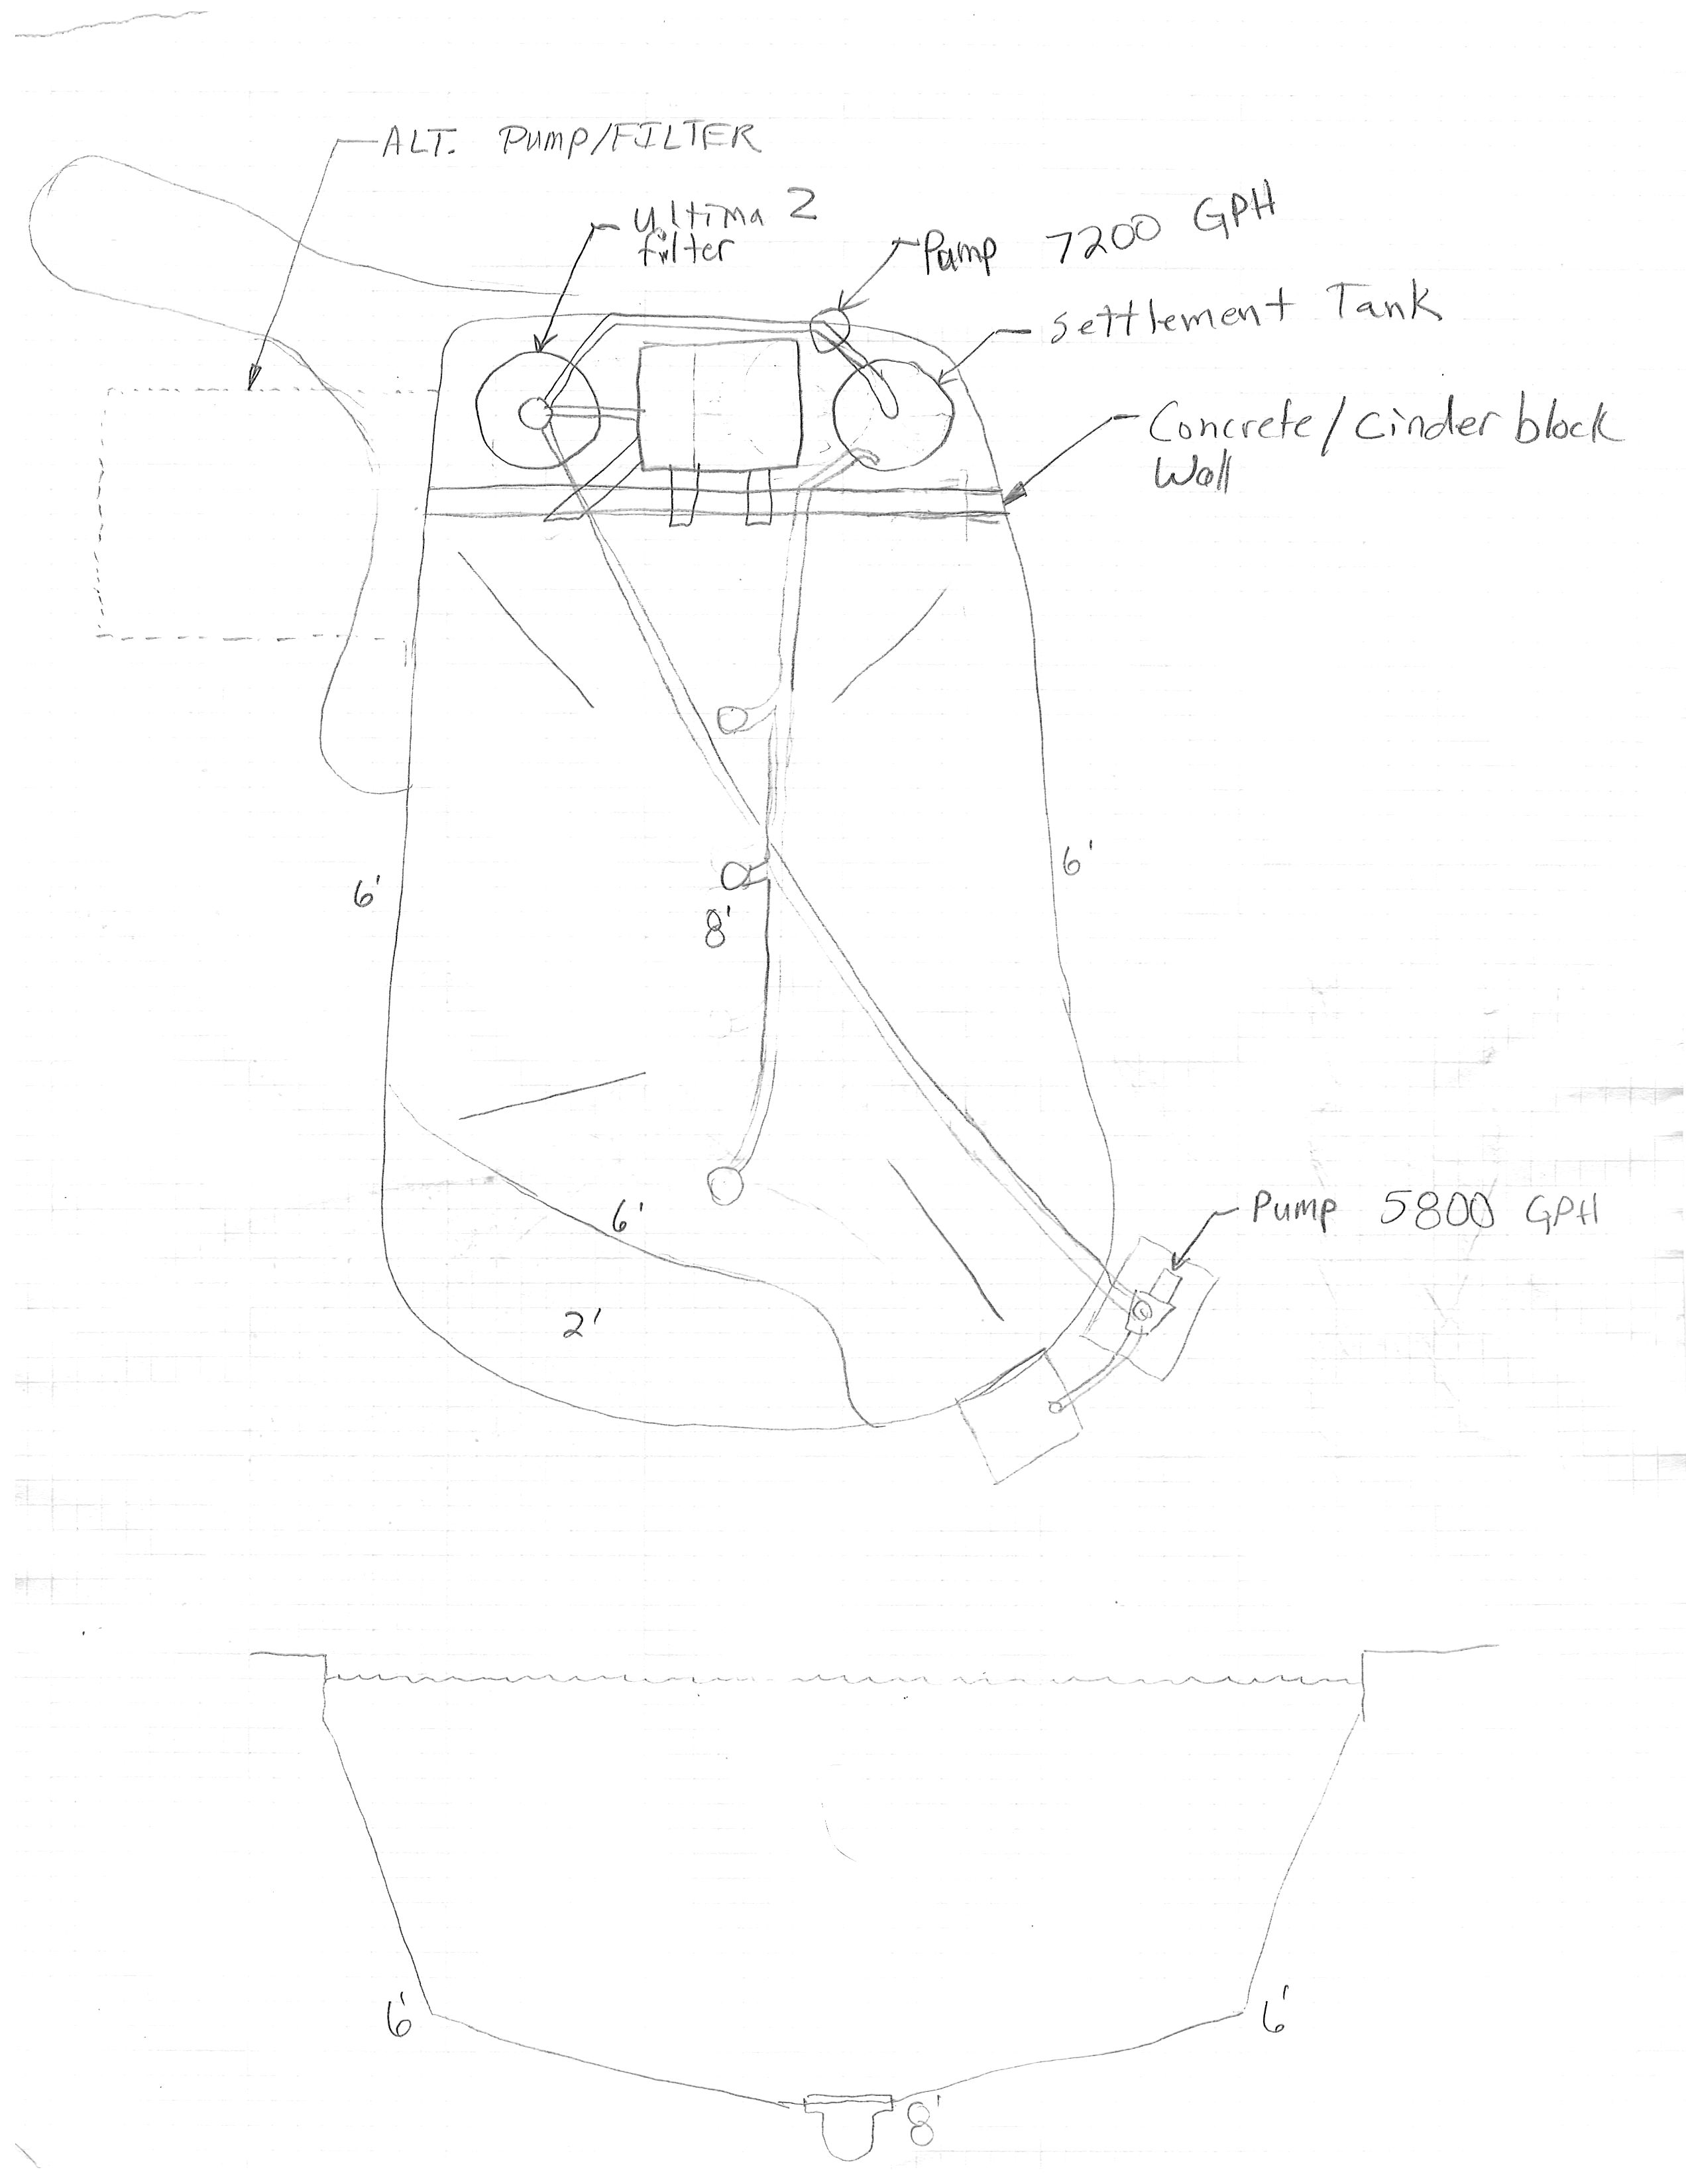
With the filter in good shape, I dove into the filtration system design. I did a lot of reading about PVC pipe diameter, friction loss, head loss, water speed, solids settling, etc. I’m still learning new stuff every time I get into research mode. I was a planning on getting a fine art degree in college and I have felt (only a few times) that I should have gone into mechanical engineering. At some point, I felt comfortable enough to try to get my ideas out on paper and drew up a first draft concept of how the system would work.

Any experienced pond engineer will tell you this design isn’t great, but you have to start somewhere. I believe this is an important step for any project because it allows you to coalesce the swirling bits and pieces of information and theory into something you can visualize and refine.

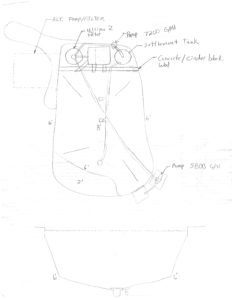
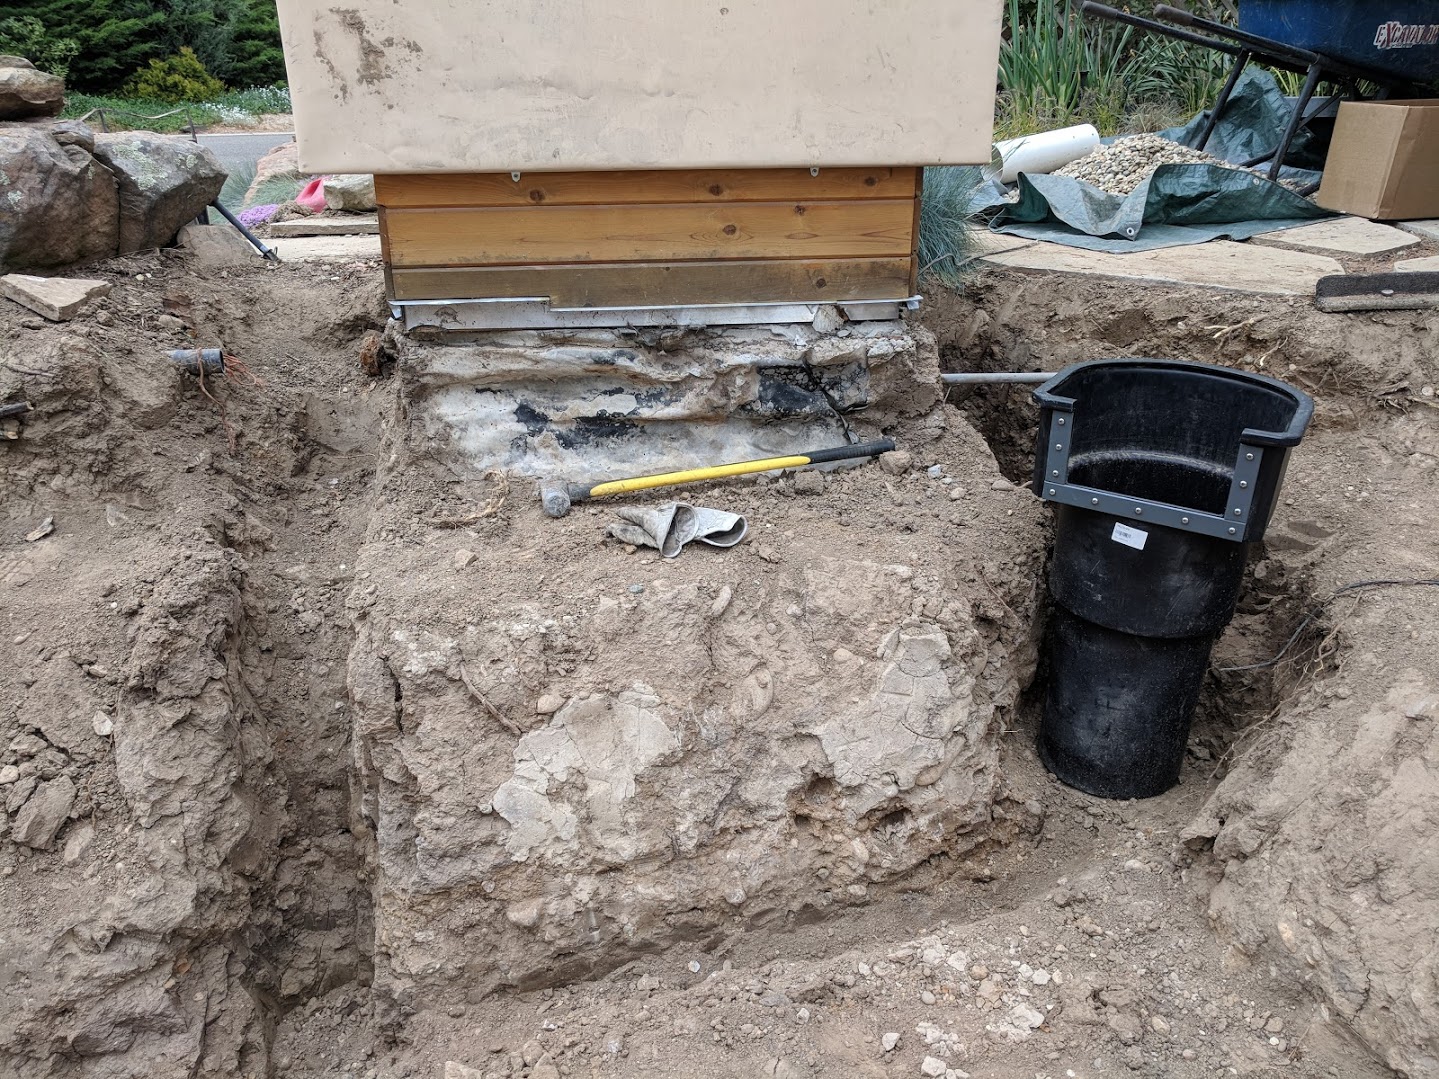
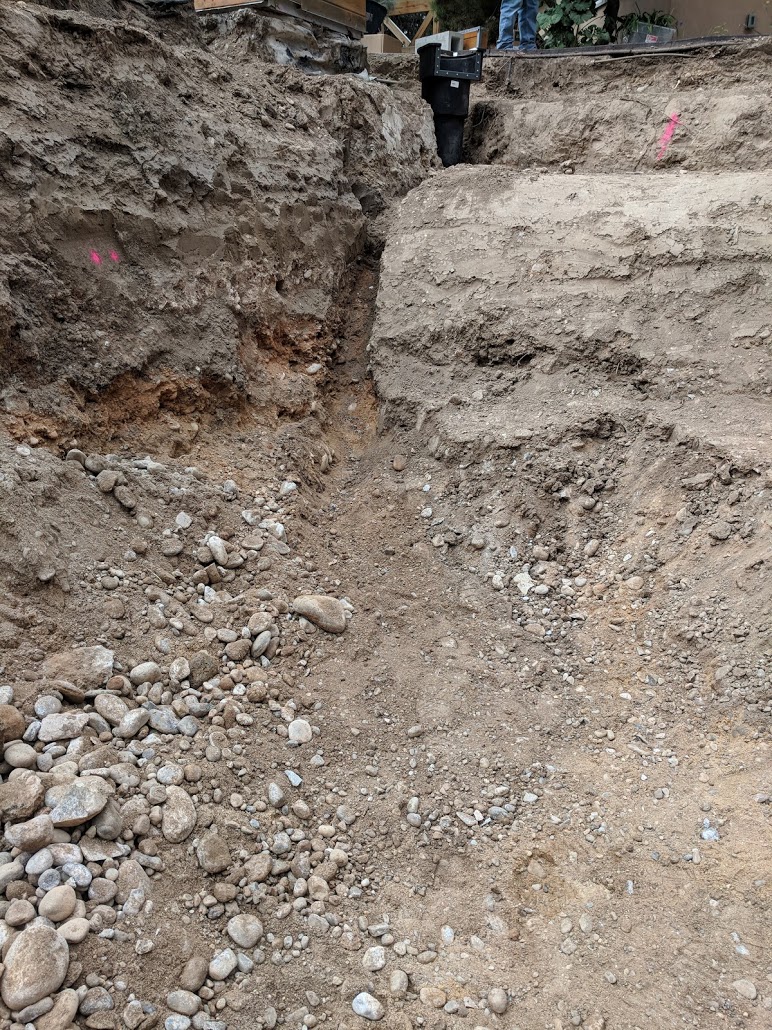
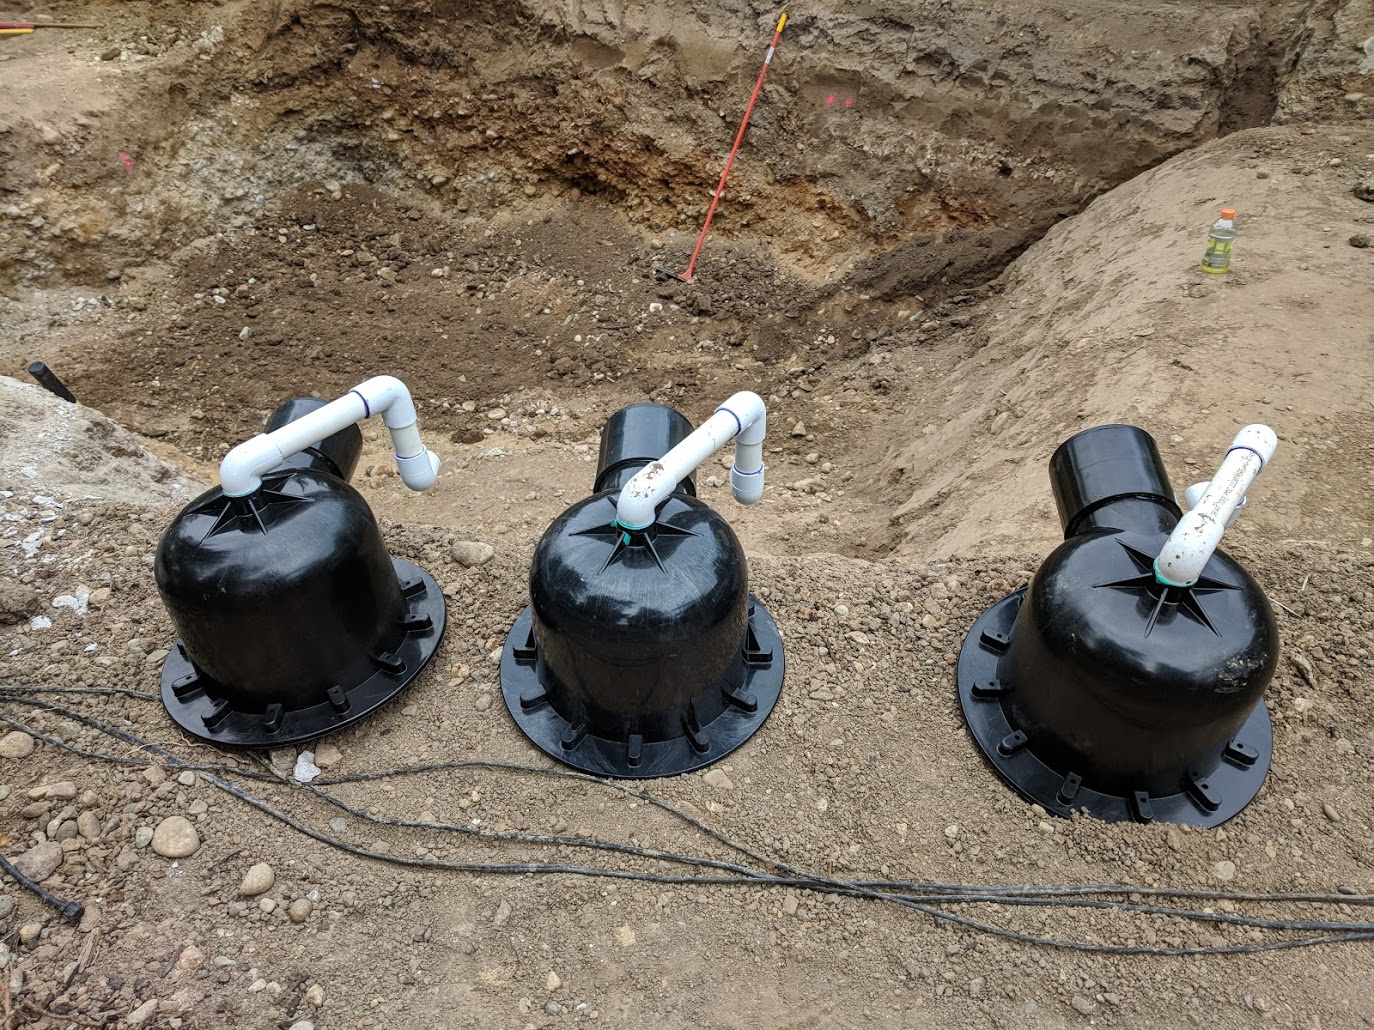
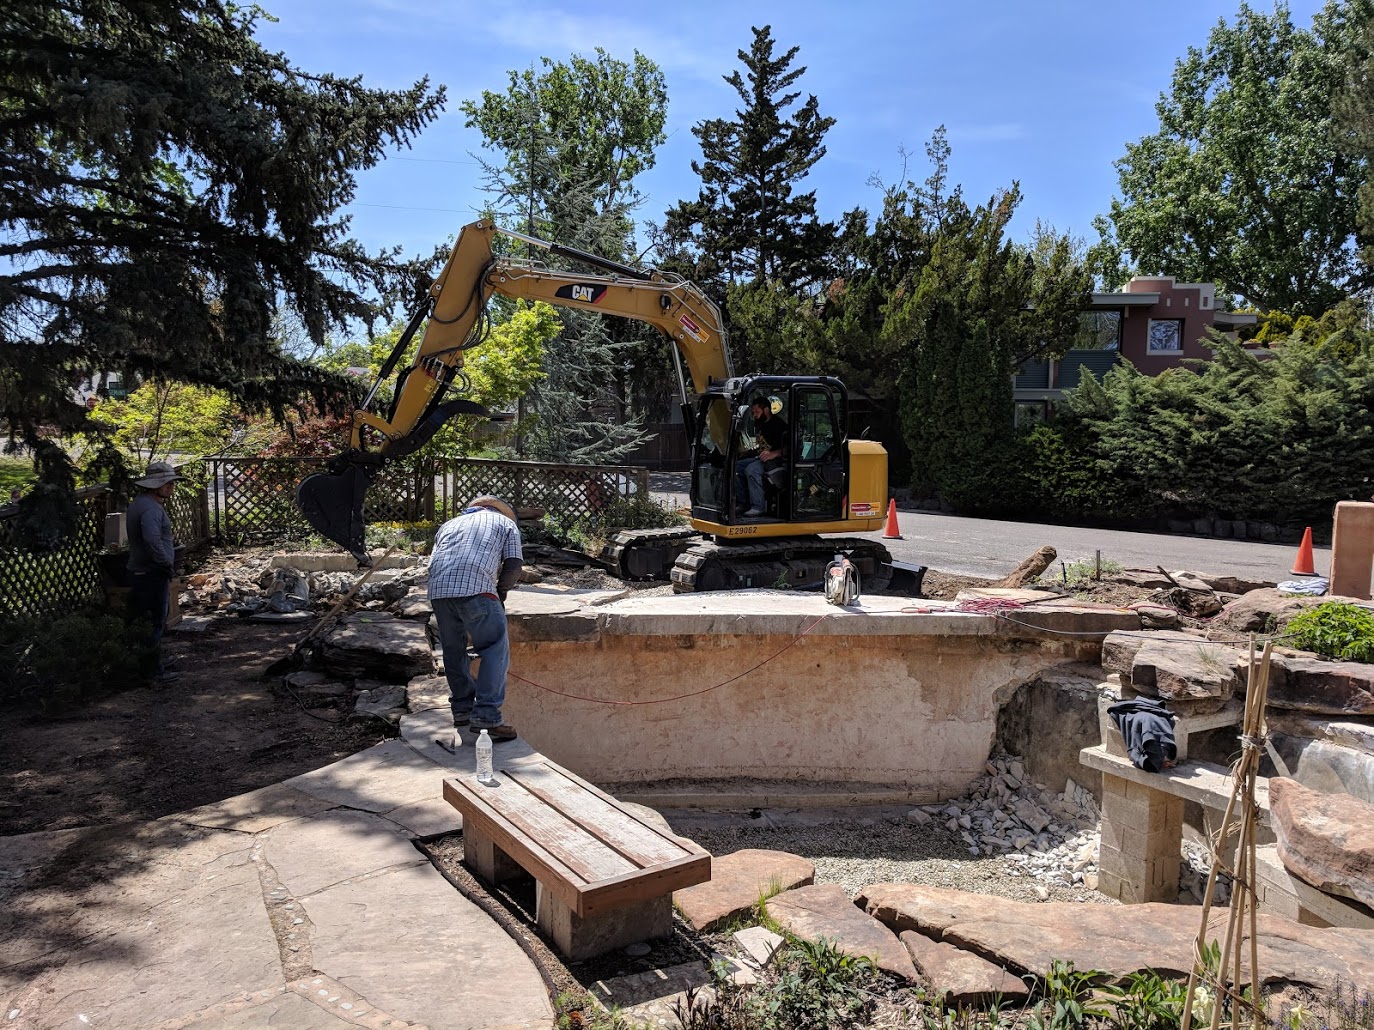
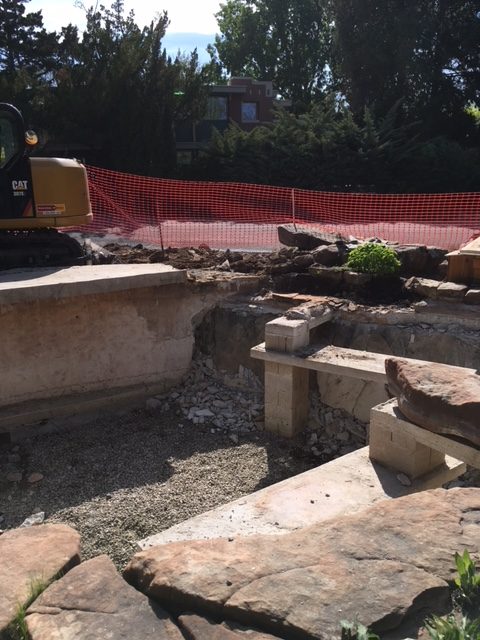
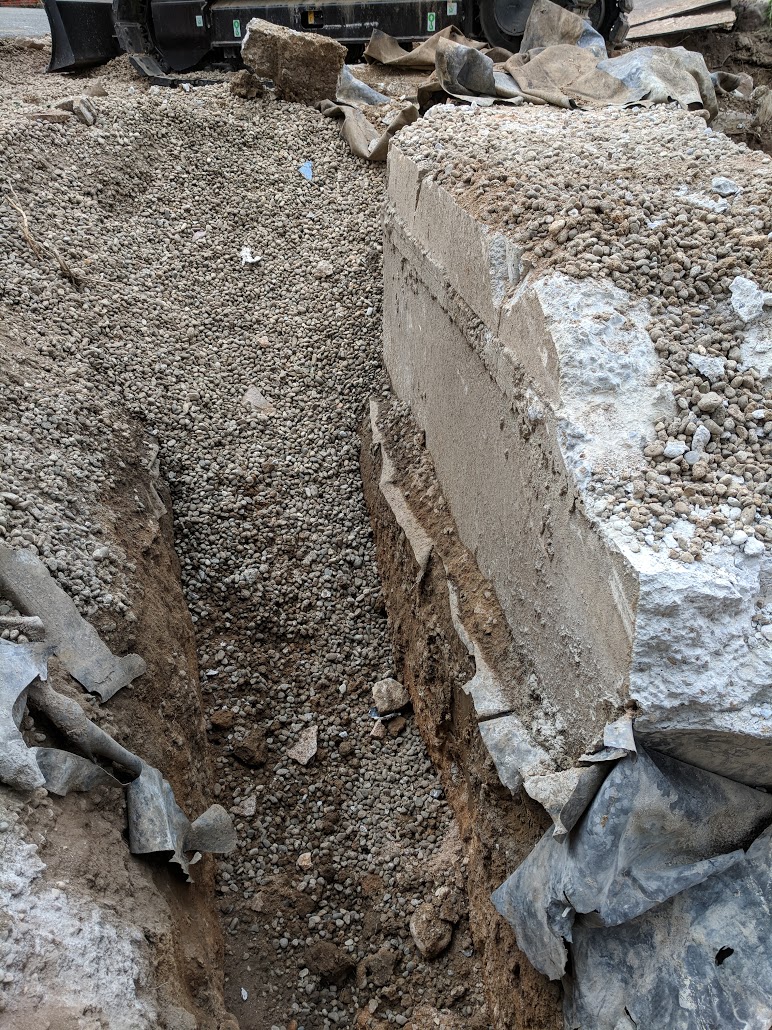
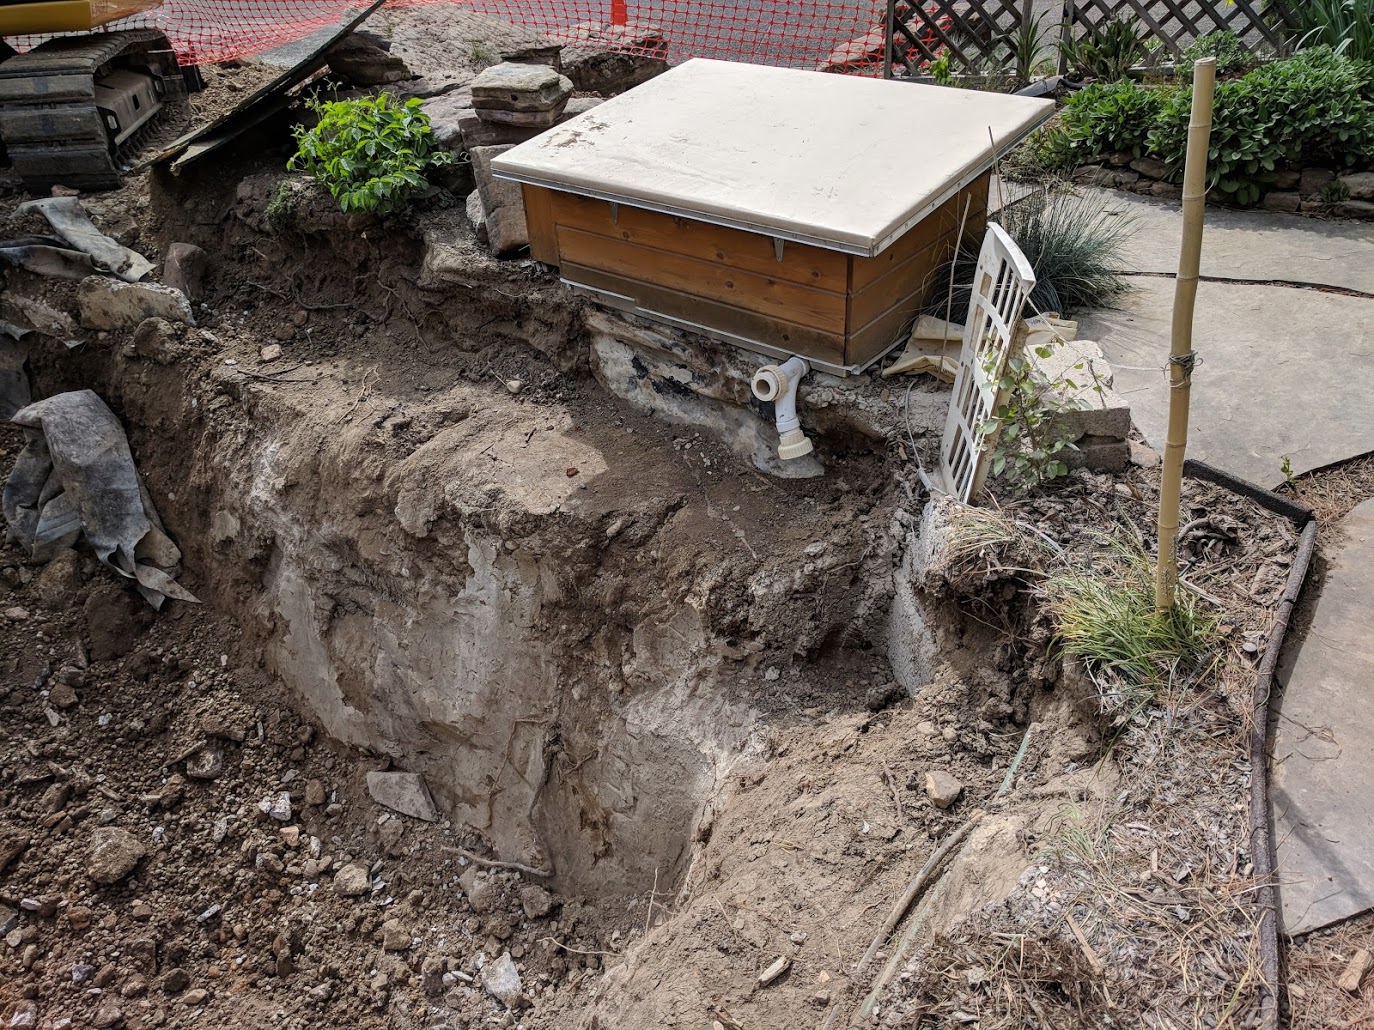
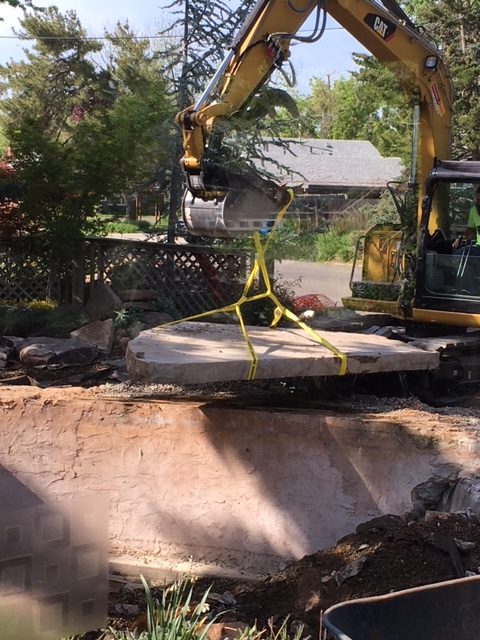
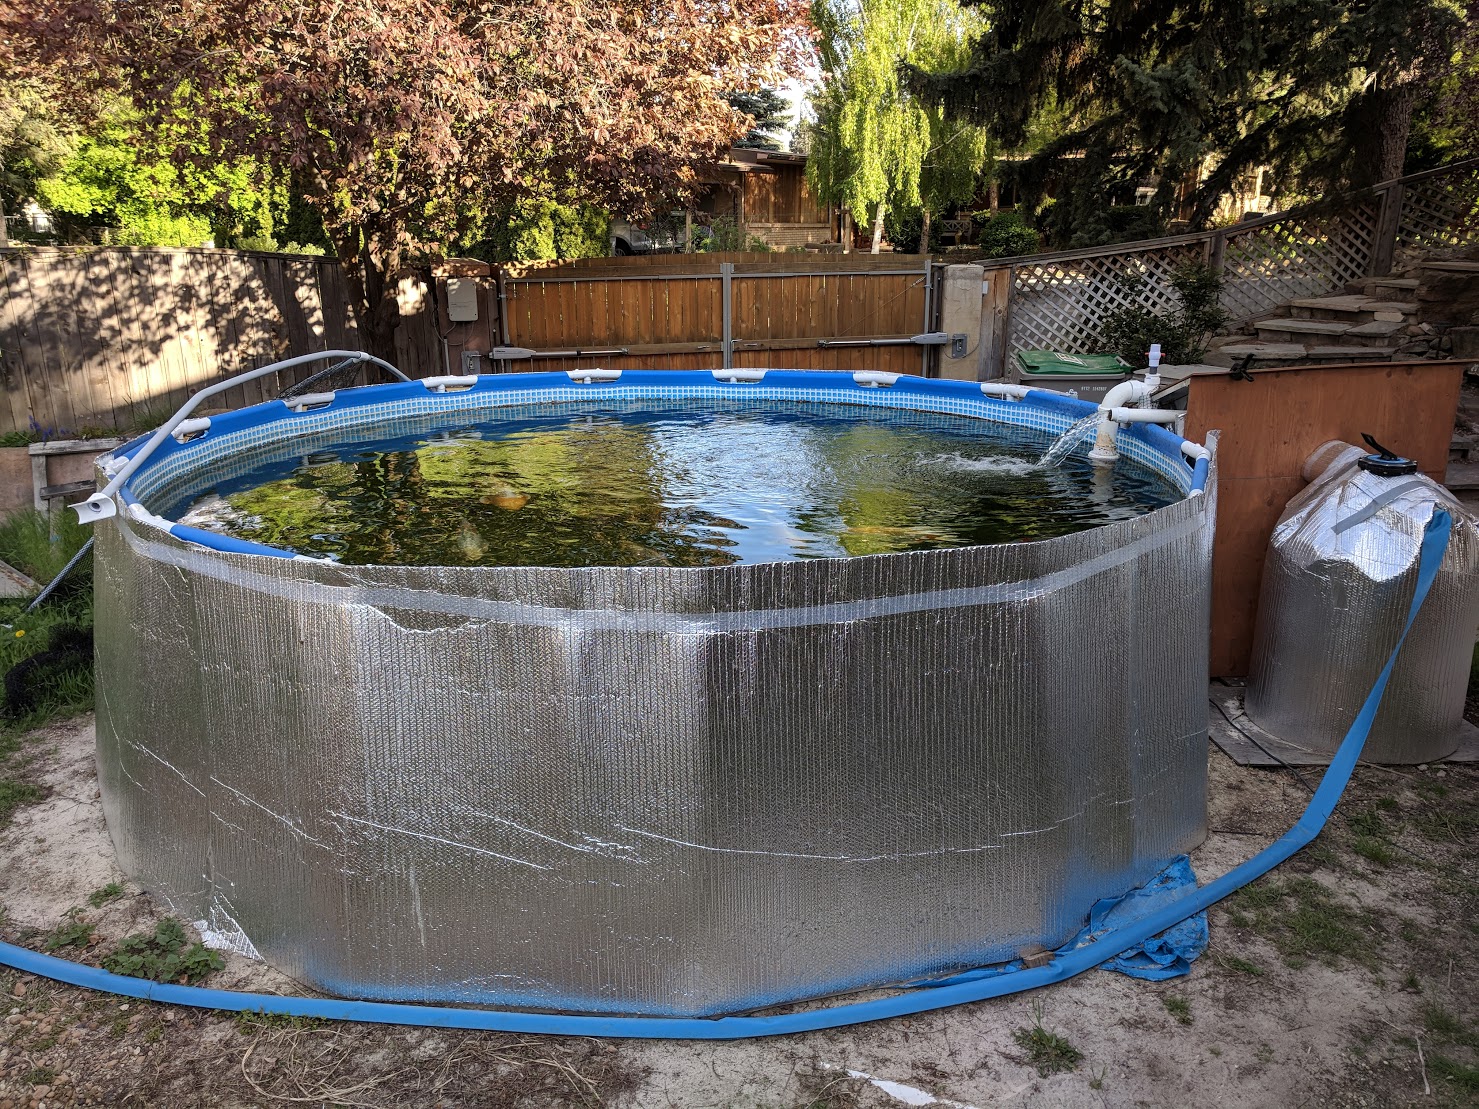
With a plan on paper, I started to figure out how to position the new pond and its equipment within the current footprint of our pond. The obvious place to put the equipment was in the bog garden. Because the pond will be one giant hole, we need a structure to separate the equipment, such as a concrete or block wall. The liner will extend over the part of the wall forming one end of the pond to keep the equipment area dry.

This was the first iteration with everything roughly laid out. There are some obvious design flaws (each bottom drain needs its own pipe), but it’s only draft #1.

As the project has progressed I have able been tap into some extensive knowledge from local IWGKS members. While the details of the design have changed, the overall plan is still fairly similar to these original drawings.

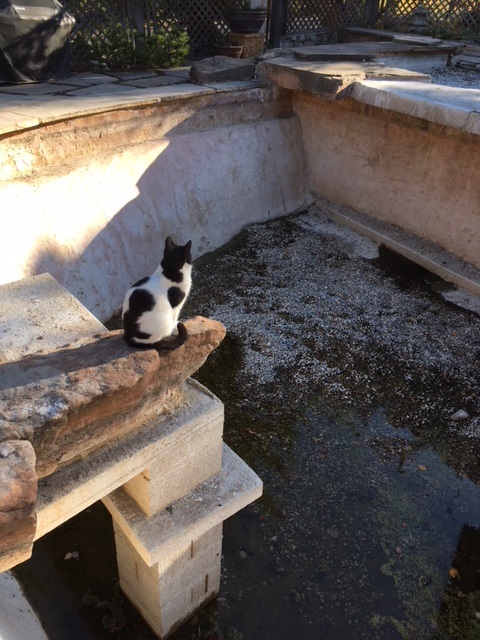
The neighbor’s cat is wondering what is going on….

The 2018 Pond Remodel is Happening!

We bought our house in 2010 knowing it was going to need work. The pond, however, was one big the selling points. The pond was installed by the previous homeowner who claimed to have worked as a landscaper. For six years, unlike the other work the previous owner did on the house, the pond ran well and we only had a few minor issues with it.

As you can see, the pond was a two-level layout. The upper level was a bog garden, the only source of filtration. The lower level was five feet deep under the waterfall and gradually declined to six feet deep below the skimmer. There are no bottom drains and the bottom of the pond is covered with three quarters to one inch-sized gravel. We estimate the volume was about 11,000 to 13,000 gallons.

Two years ago (early 2016) we noticed the pond needed topping off far more often than previous years. In late 2016, we were losing one to two inches of water a day and we began planning a remodel for early 2017. Unfortunately, the contractor we started to work with moved on to another project around the time we were planning on starting and we scrambled to find a landscaper. In the meantime the leak in the pond had progressed to losing four inches of water a day and we moved the fish into an above-ground swimming pool. The fish seem to be fine in the pool, waiting for their new pond.

Fast forward to 2018 and we have found a reputable landscaper named Urban Escapes and are working on the final touches to the planned remodel. We’re now about a month away from the start of the pond remodel and will try to share as much of the process as we can, and some of what we have learned as well.